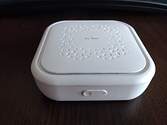
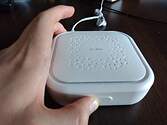
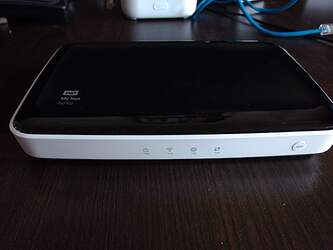
In this thread each post will have a router flashing guide.
The requirements to be kept in this thread are as follows.
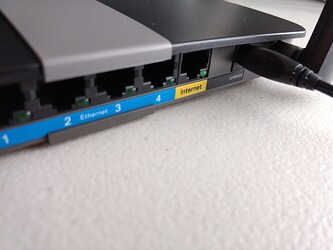
- Pictures must be included for all cable plugs and reset buttons
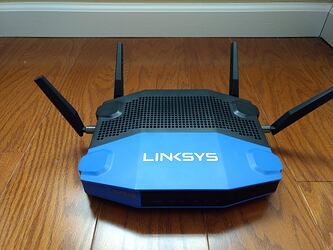
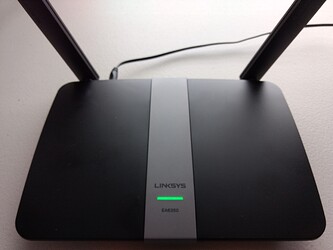
- The router pictured must be the same model the instructions reference
- All steps in which user action must be taken should be explicitly noted.
What you need
- One Ethernet Cable
- A computer running Windows, Mac, or Linux with at least one Ethernet port
- A WD MyNet N750 router, for sale here
- An Althea firmware image for the n750 click the download button under the correct picture on this page
How to
-
Download the firmware image from step 4 described above. Save it somewhere you will be able to find it later.
-
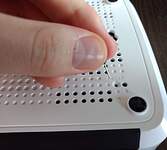
Start with the router free of all plugs and attachments, note the recessed reset button in the corner on the bottom of the router.
-
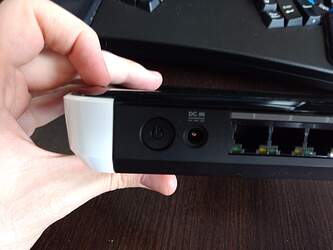
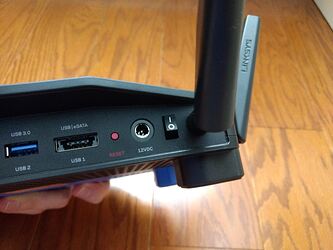
Make sure the power button on the back of the router is depressed. So that it comes on when plugged in.
-
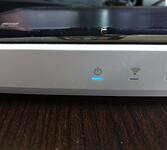
Plug in the router, holding the reset button using a paperclip or other tool. The button is somewhat difficult to press but makes a very solid ‘click’ when you do it right. Hold the reset button until the power light on the front begins to blink slowly.
-
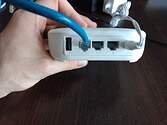
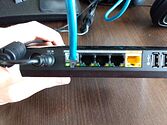
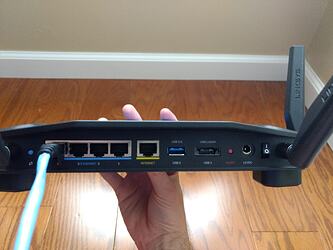
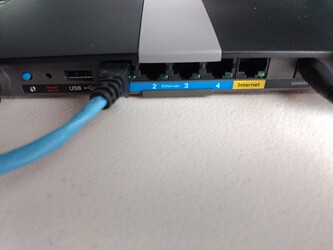
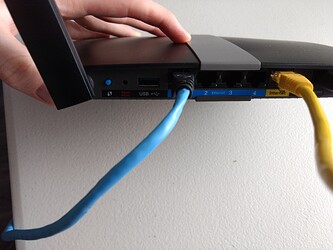
Plug in the Ethernet cable into the routers lan port. Which is the leftmost with the ports facing at you. As Pictured.
-
Plug the other end of the same cable into your computer.
-
You must now assign your computer the static ip 192.168.1.2 in a /24 subnet.
A) On Windows follow these instructions. For the box in step 5 type 192.168.1.2 in the IP Address box not 192.168.10.1 as shown in the image. A subnet mask of 255.255.255.0 is correct and the value of the other fields does not matter for this exercise.
B) On Mac follow these instructions. Fill in 192.168.1.2 in the IPv4 Adress box, not 10.1.0.99 like in the picture. A subnet mask of 255.255.255.0 is correct, after step 6 stop and press ok.
C) On Linux open a terminal and type
sudo ip addr add 192.168.1.2/24 dev eth0
Enter your password as prompted. If the command runs with no output it was successful! Go onto the next step.
If you get the message
Cannot find device "eth0"
You are probably using Fedora, Centos, or have more than one network port run the command ip a to find the correct name instead of eth0. You are looking for a line like this.
2: enp0s31f6: <BROADCAST,MULTICAST,UP,LOWER_UP> mtu 1500 qdisc fq_codel state UP group default qlen 1000
Notice how the ‘state UP’ indicates a port where something is plugged in. Here I would run
sudo ip addr add 192.168.1.2/24 dev enp0s31f6
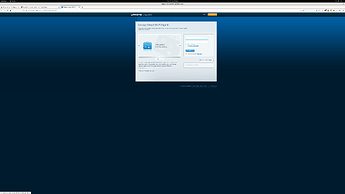
- With that out of the way visit 192.168.1.1 in your web browser. It should look like this.
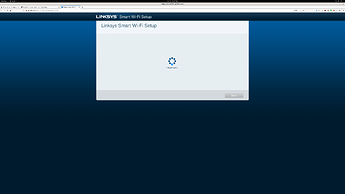
- Press the ‘browse’ button and select the firmware you downloaded in step 1. Then press ‘upload’. You will be forwarded to a page that looks like this. The power light on the router will go from solid to off, to blinking, then back to solid. This whole process takes a little bit more than the given amount of time on the display.
- If you have another router to flash return to step 2. If this is all you will be flashing it’s time to undo the static IP assignment. Linux users can skip this step.
A) On Windows follow these instructions. For the box in step 5 select ‘Obtain an ip address automatically’ then click ok.
B) On Mac follow these instructions. Stop at the box in step two, select ‘Using DHCP’ from the dropdown menu labelled ‘Configure IPv4’ then it ‘apply’.
-
Your router is now flashed, only the leftmost light should now be on. Unplug the lan port, wait 10 seconds and plug it back in.
-
After flashing the location of the LAN port changes, double check that you are plugged into the port labeled ‘1’ furthest away from the yellow WAN port.
-
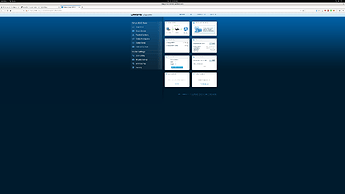
Navigate to 192.168.10.1/althea which is the Althea router dashboard.
-
Congratulations! You’re done! Now you can setup your Althea router and and make links into the network
Any x86_64 machine
This guide is for any desktop from the Intel Core 2 Era or beyond, AMD processors from the FX series and beyond will also work.
What you need
- A desktop PC
- A monitor, keyboard, and mouse. To connect to the desktop
- A different computer running Windows, Mac, or Linux
- A screwdriver (sometimes)
- Two flash drives at least 2gb in size OR one flash drive and a wired internet connection for the desktop
- About $30 to buy appropriate Ethernet expander cards
How to
-
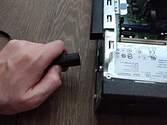
First inspect the desktop to determine what sort of expander cards you should use. Unplug the desktop from any power sources and open the case.
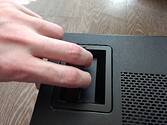
Some cases have quick releases as shown here, others have screws on the back. In general look for some sort of lever or screws on the back left side of the computer with the front is facing you.
-
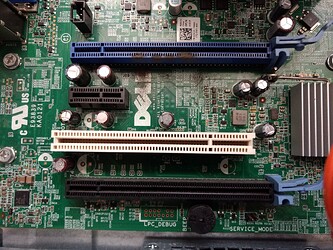
Now that the machine is open inspect the interior ports. In this case we have a PCIe x16 slot in blue, a PCIe x4 slot below in black, a PCI slot in white and finally another PCIe x16 in black on the bottom.
-
Now that you’ve identified what ports you have you need to decide on cards. PCI has less throughput than the PCIe so avoid it if possible. Otherwise select cards based on your budget, port needs, and the number of slots in your desktop. PCIe cards can be inserted in either the x16 slots or the x4 slots so do not concern yourself with that.
Four port PCIe $60
Two ports PCIe $35
Two ports PCI $20
-
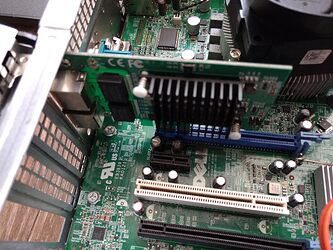
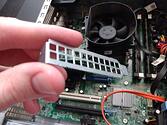
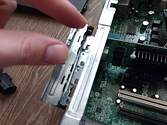
Once you have the cards it’s time to install them, line the card up with the appropriate slot, you may have to remove a card slot blank from the back of the case using a screwdriver or a screwless latch system. Note the orientation of the card is upside down, this is the normal mounting direction for expansion cards.
-
Push gently but firmly until the card slots fully into place, then screw or latch it in. You may have to remove one of these blanks to make room.
-
Finally it’s time to startup the machine and install Althea. First we have to prepare the Ubuntu flash drive.
Windows Users
Ubuntu Users
Apple Users
Other Linux users
Once you have unetbootin running select ubuntu from the dropdown on the top, select your drive and hit start.
-
Next we boot the live USB on the desktop. Plug in the monitor, keyboard, and flash drive. Ensure the monitor is on and then power on the machine.
-
In the first few seconds after powering on you will see a manufacturer screen, in one of the corners it will note a button that needs to be pressed to ‘enter setup’ or ‘configure boot order’
-
You will probably not press this button fast enough, this is fine, simply cut power to the machine and try again. Do not concern yourself with anything you may know about power failures being bad for ‘computers’. That’s an operating system issue and we’re installing a new operating system, any damage to the old one is not a concern.
-
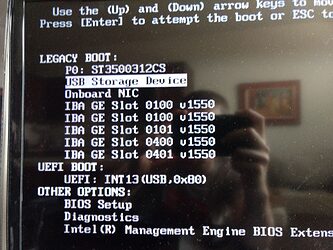
Now you have made your way into the bios. This section of the guide is of limited assistance since configuration differs drastically between different types of machines, generally you want to find a boot from USB option and select it or find a boot order list and promote USB devices to the top. This is what it looks like on my machine.
-
You may have to try to press the BIOS button several times, don’t be afraid to just rapidly press it while the machine comes on.
-
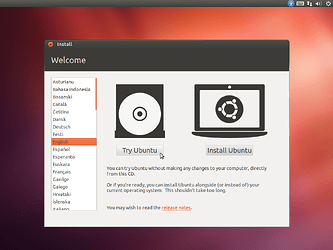
Once you have selected boot from flashdrive wait until you see this screen. Then select ‘try ubuntu’
-
You now have Ubuntu booted on your machine. There are two options from this spot. You can plug an Ethernet cable into the desktop, open Firefox and download the image from this page using the desktop itself. Or you can do the same thing on a different machine and copy it onto a separate flash drive.
-
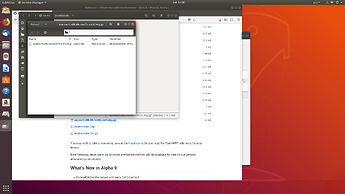
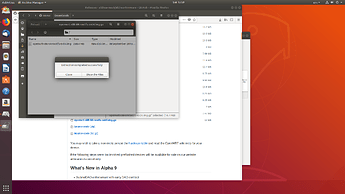
Now that you have the Althea x86_64 image you need to extract it. Double clicking on the x86_64 image file will open the archive extractor. You can then just press the ‘extract’ button in the top left corner and then again on upper right corner in the dialogue that comes up.
-
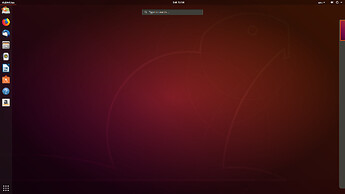
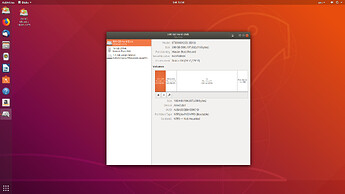
Now you have a .img file instead of a .img.gz file. We’re going to use the Disks tool to write this image to the internal hard disk so that the machine boots into it every time. Click the ‘activities’ button in the top left corner of the screen, search for ‘disks’ then press enter.
-
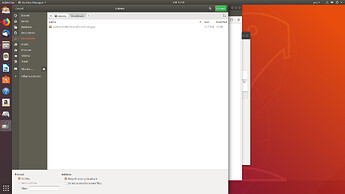
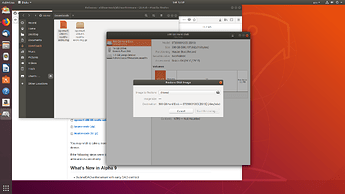
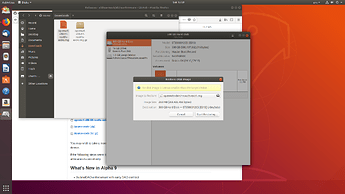
Select the entry labeled ‘hard disk’ whatever size the internal disk may be. Then click the button with three horizontal lines in the top right and select ‘restore disk image’. Click the ‘image to restore’ button and select the file openwrt-x86-64-rootfs-ext4.img
-
Finally select ‘start restoring’. Select yes when it asks if you are sure.
-
Congratulations you’re done! Reboot the machine and you should see the Althea router terminal come up. You don’t need to use this terminal though.
-
The first two ports of the first expansion card will be ‘wan’ and ‘lan’ respectively, all other ports will be mesh device ports you can connect this computer to. If you plug your device into the ‘lan’ port you can navigate to 192.168.10.1/althea which is the Althea router dashboard. From there you can setup your Althea router and make links into the network
