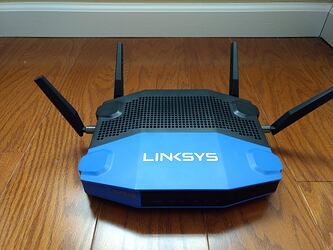
Linksys WRT3200ACM
What you need
- One Ethernet Cable
- A computer with WiFi or Ethernet
- A Linksys WRT3200ACM router, for sale here
- An Althea firmware image for the 3200ACM use the latest release under the picture of this router on this page
How to
-
Download the firmware image from step 4 described above. Save it somewhere you will be able to find it later.
-
Start with the router free of all plugs and attachments
-
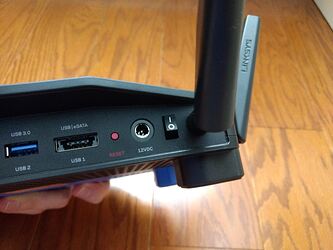
Make sure the power switch on the back of the router is in the on position. So that the router comes on when plugged in.
-
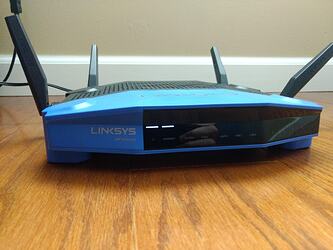
Plug power into the router, make sure the furthest light to the left comes on.
-
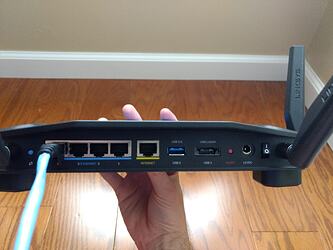
Plug in the Ethernet cable into the routers lan port. Which is the leftmost with the ports facing at you. As Pictured. Alternatively connect to the WiFi network specified on the sticker in the bottom front of the router. If you chose to use WiFi skip step 6
-
Plug the other end of the same cable into your computer.
-
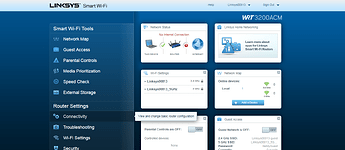
Once connected visit 192.168.1.1 in your web browser. It should look like this. If you did not follow previous instructions and plugged a cable into the WAN port, you may see a splash screen for Linksys Cloud service, if that is the case find the ‘no thanks’ button to reach this screen.
-
Press the 'connectivity button under 'Router Settings
-
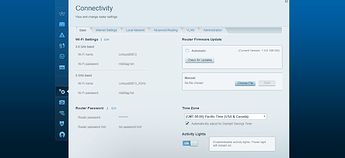
Select the ‘choose file’ button under the ‘Router firmware update’ header
-
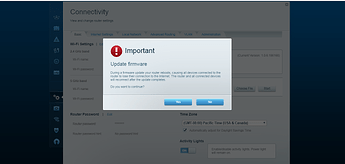
You will now see the firmware upload dialog, select the file you downloaded in step 1 then click yes.
-
Your router will reboot into the Althea firmware, you will know the process is complete when you see the WiFi network ‘AltheaHome’. You can connect to this network with the password ‘ChangeMe’
-
Navigate to althearouter.net which is the Althea router dashboard.
-
Congratulations! You’re done! Now you can setup your Althea router and and make links into the network
